Repairing Bridges' Longitudinal Cracks
Crack Injection
During routine inspections, longitudinal cracks were found in many places on the bridge, some of which were 0.25mm wide and some 0.2mm long, with a length of 10-20 meters.

During routine inspections, longitudinal cracks were found in many places on the bridge, some of which were 0.25mm wide and some 0.2mm long, with a length of 10-20 meters.
After on-site investigation and analysis by a professional technical team, the main causes of the cracks were determined to be:
1) Vehicle overload: There are many heavy-loaded vehicles passing through the bridge, which have been subjected to forces exceeding the design load for a long time, causing stress concentration in the bridge structure and causing longitudinal cracks.
2) Concrete shrinkage: During the construction of the bridge, the concrete generates internal stress due to its own shrinkage. When the internal stress exceeds the tensile strength of the concrete, cracks will occur.
Considering the importance of crack width and bridge structure, structural adhesive HM-9 and HM-120L were used for this repair. The adhesive has the characteristics of high bonding strength, good flexibility, aging resistance, and strong pourability. It can effectively inject cracks with a width of 0.1mm or more to form a high-strength bond, restore the integrity of the structure, and prevent the intrusion of moisture, air and other corrosive media, meeting the technical requirements of bridge crack repair.

Construction process
Crack cleaning: Use wire brushes, angle grinders and other tools to grind the concrete surface within 5-10cm on both sides of the crack along the direction of the crack to remove impurities such as floating slurry, oil, dust and so on until a solid concrete base is exposed. Then, use high-pressure air to blow away the debris in the crack to ensure that the inside of the crack is clean.
Crack marking: Use a marker to mark along the direction of the crack, accurately mark the location, length and width of the crack for subsequent construction.
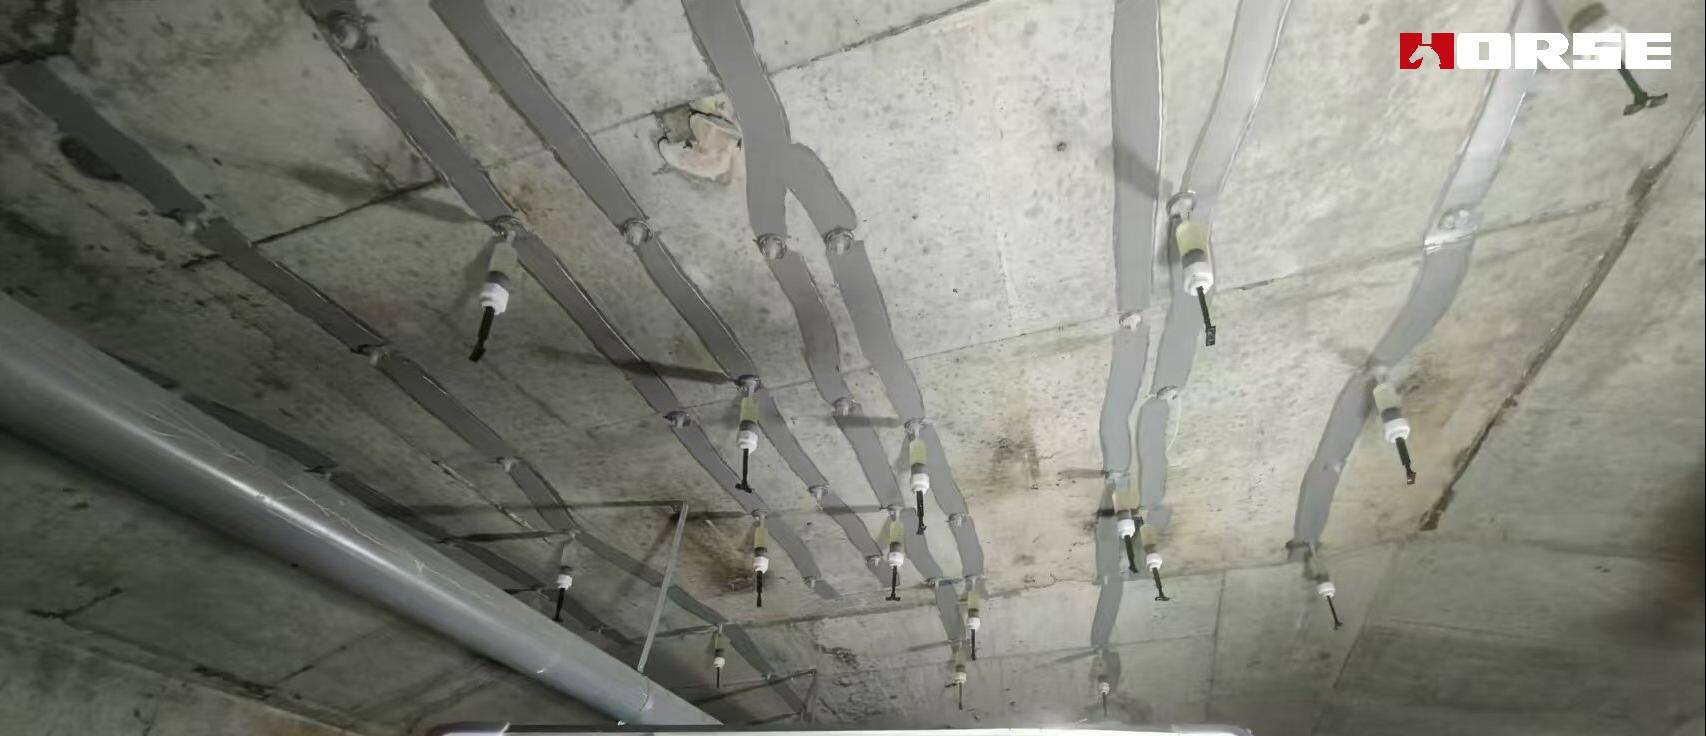
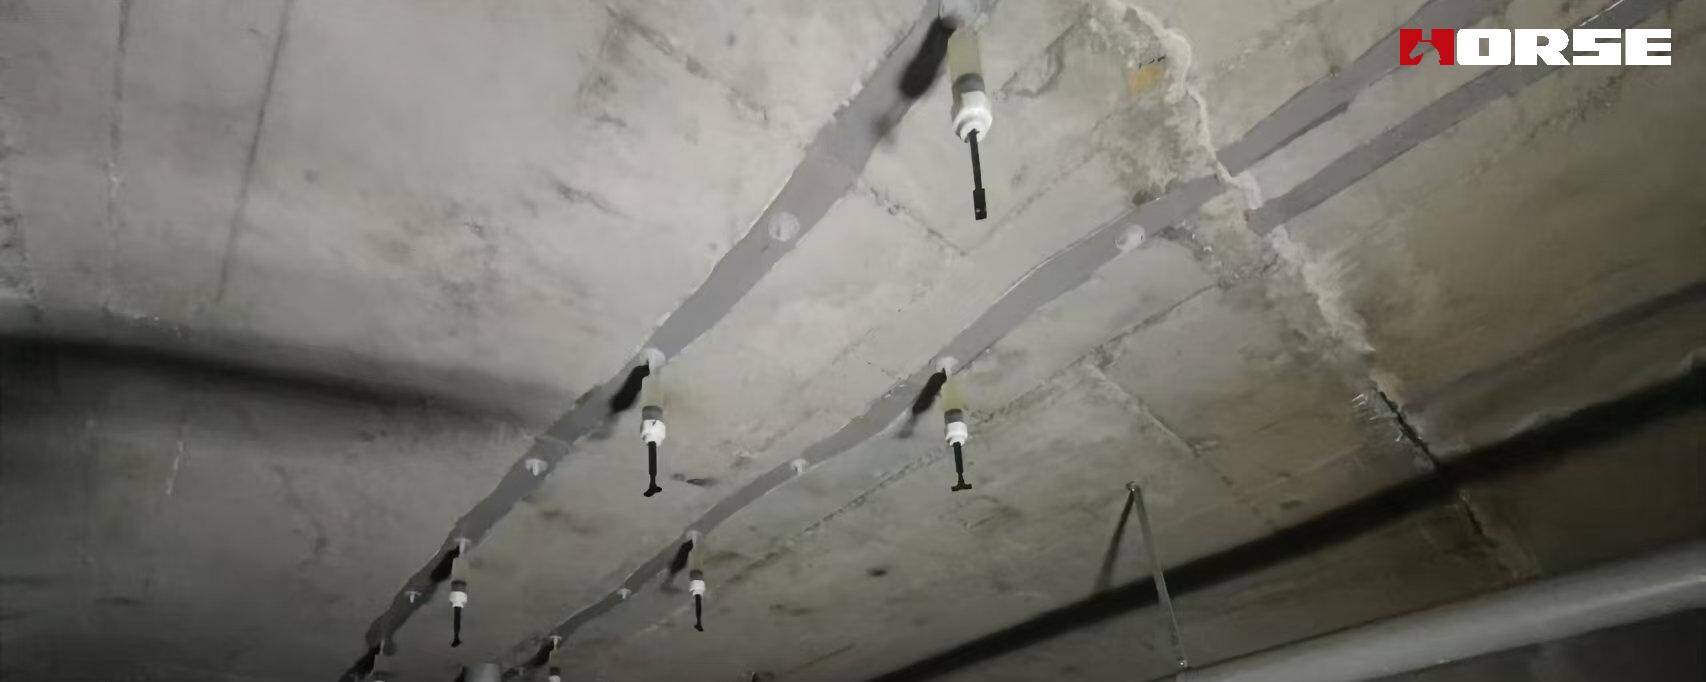
Paste the glue filling base: Paste the glue filling base on the crack at a spacing of 30-50cm, and ensure that the center of the base is aligned with the crack. For the intersection, end and parts of the crack with large width changes, increase the number of bases appropriately. Use seam sealant to seal the base around to ensure that the glue does not overflow from the base during the glue filling process.
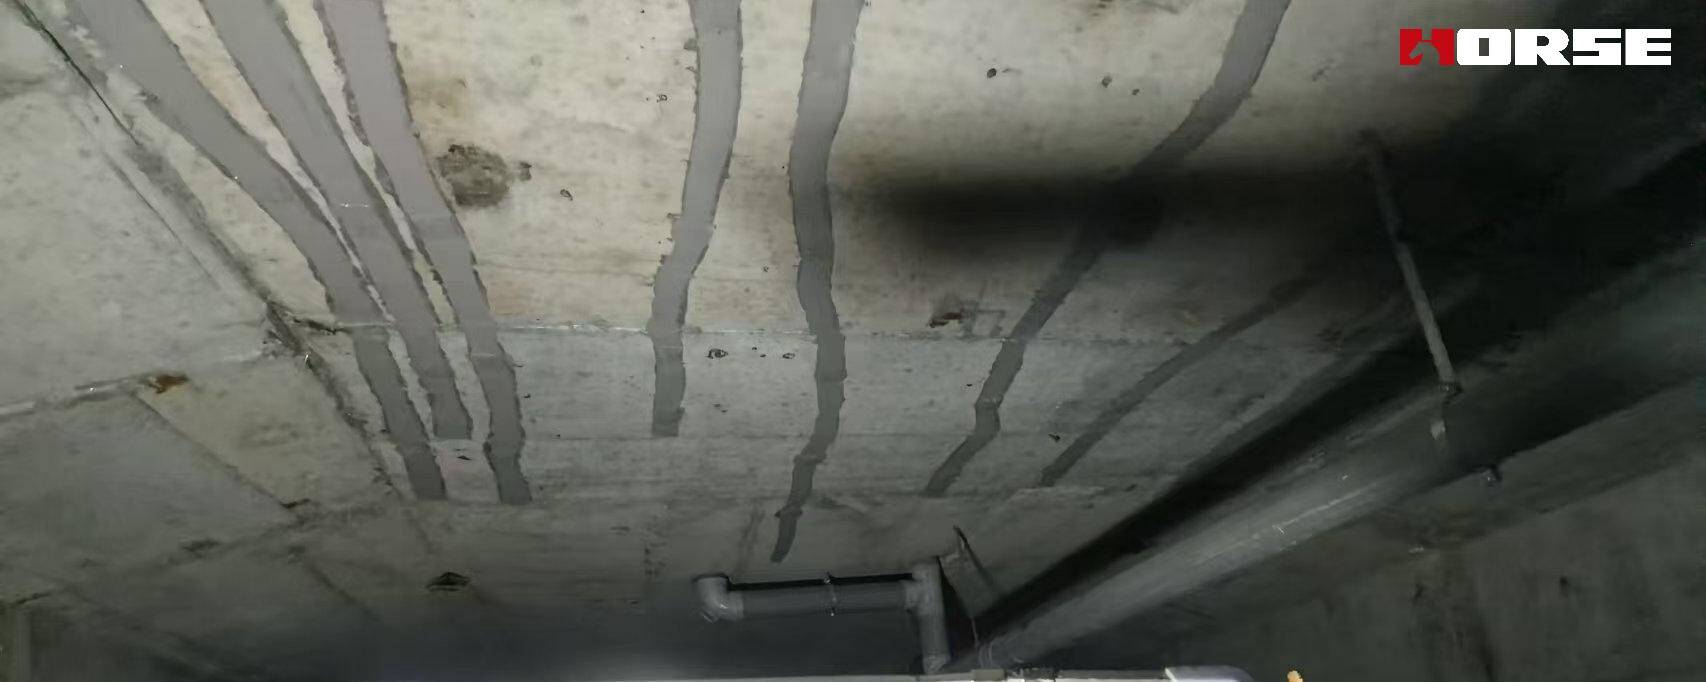
Sealing treatment: Use seam sealant to apply along the direction of the crack to form a sealing belt with a width of about 5-8cm, and the thickness is controlled at 1-2mm to ensure that the crack is completely closed to prevent the glue from leaking out during glue filling. After the sealing is completed, check the sealing effect. If there is leakage or bubbles, repair them in time.
Glue filling preparation: According to the requirements of the caulking glue product manual, accurately weigh the two components A and B, and stir them thoroughly in a clean container until they are evenly mixed and the color is consistent. Put the stirred caulking glue into a special caulking syringe and connect the caulking base.
Glue filling construction: Starting from one end of the crack, tightly connect the caulking syringe with the caulking base, slowly push the syringe piston, and inject the caulking glue into the crack at a uniform speed. Observe the glue discharge of the adjacent base. When the adjacent base has glue flowing out, stop caulking and move to the next base to continue caulking. During the caulking process, ensure that the caulking glue fills the crack to avoid voids or bubbles. For cracks with a width of 0.25mm and 0.2mm, the caulking pressure is controlled between 0.2-0.4MPa to ensure that the caulking glue can fully penetrate into the depth of the crack.
Remove the base and clean the surface: After the glue is poured, wait for the glue to solidify (usually 24-48 hours, the specific time depends on the ambient temperature and the performance of the glue), and then remove the glue base. Use tools such as a spatula and sandpaper to clean the remaining sealant and glue on the concrete surface, so that the repaired surface is flat and consistent with the original concrete surface.

After the repair is completed, a series of tests are required
1) Appearance inspection: After the repair is completed, the crack repair site is inspected for appearance. The repair surface is required to be flat, without leakage, crack re-cracking, etc.
2) Core sampling inspection: Drill a core sample at the crack site after the repair to observe the filling of the caulking glue inside the core sample. The caulking glue is required to be firmly bonded to the concrete and the cracks are densely filled.